
If you have managed a website then you definitely know the headache of keeping forms open without a captcha. Bots on the internet finds it sooner or later and you are bombarded with Spam. Which not only increases your maintenance and upkeep time but it also slows your site down as server resources gets used up by those pesky bots.
Securing your website with reCAPTCHA v3 involves a few steps which I will outline here, including registering your site with Google, adding the reCAPTCHA API script to your web pages, and validating the user’s response on the server side.
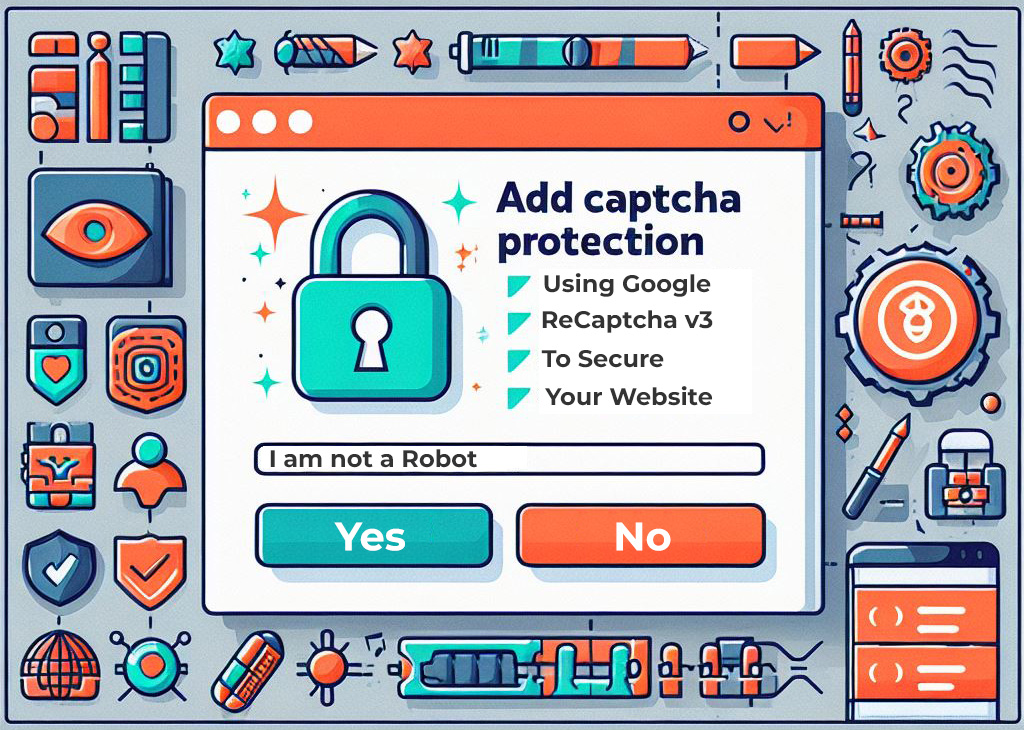
Here’s a step-by-step guide to implement Google reCaptcha with code examples:
Step 1: Register your site with reCAPTCHA
- Go to the reCAPTCHA website and sign in with your Google account.
- Click on the “+” button to create a new site.
- Choose “reCAPTCHA v3” and select the “I’m not a robot” Checkbox.
- In the Domains section, add the domains where you want to use reCAPTCHA. (So it is limited to this domain only)
- Accept the reCAPTCHA Terms of Service, and click the “Submit” button.
- You will receive site and secret keys. Keep them secure, and we’ll use them in the code.
Step 2: Add reCAPTCHA script to your HTML
Add the following script to the <head> section of your HTML pages where you want to use reCAPTCHA:
<!-- Add this script to the head section of your HTML -->
<script src="https://www.google.com/recaptcha/api.js?render=YOUR_SITE_KEY"></script>
Replace YOUR_SITE_KEY with the site key which you have obtained in Step 1 of this process.
Step 3: Implement reCAPTCHA in your form
Add the reCAPTCHA widget to your form. Insert the following code where you want the reCAPTCHA widget to appear:
<!-- Add this code for reCAPTCHA widget to appear in your form -->
<form action="formprocessingscript.php" method="post">
  <!-- Add other form fields -->
  <!-- reCAPTCHA widget -->
  <div class="g-recaptcha" data-sitekey="YOUR_SITE_KEY"></div>
  <button type="submit">Submit</button>
</form>
Replace YOUR_SITE_KEY with the site key which had been obtained in Step 1.
Step 4: Verify reCAPTCHA on the server side
In your server-side code (e.g., PHP), verify the reCAPTCHA response. Use the following example code:
<?php
// Process the form data
$recaptcha_secret_key = 'YOUR_SECRET_KEY'; // Replace with your secret key
$recaptcha_response = $_POST['g-recaptcha-response'];

// Verify reCAPTCHA
$recaptcha_url = 'https://www.google.com/recaptcha/api/siteverify';
$recaptcha_data = [
    'secret'   => $recaptcha_secret_key,
    'response' => $recaptcha_response,
];

$options = [
    'http' => [
        'header'  => 'Content-type: application/x-www-form-urlencoded',
        'method'  => 'POST',
        'content' => http_build_query($recaptcha_data),
    ],
];

$context = stream_context_create($options);
$recaptcha_result = file_get_contents($recaptcha_url, false, $context);
$recaptcha_result = json_decode($recaptcha_result);

if ($recaptcha_result->success) {
    // The reCAPTCHA verification was successful
    // So proceed to process your form data and do the action.
} else {
    // The reCAPTCHA verification has failed
    // So show error and execute the other code here
}
?>
Replace YOUR_SECRET_KEY with the secret key obtained in Step 1.
After doing this above steps, your website should be secured with reCAPTCHA v3. The above example was to use it with PHP but you can customize the code according to your specific server-side language and form processing requirements.